I had so much fun making that first flip flop wreath and had plenty of materials leftover, so I decided to make another wreath with some of that deco mesh we’ve seen everywhere lately. I didn’t use any of the ribbon I bought for the first flip flop wreath I made (Click Here to see that post), so I knew I wanted to use it and incorporate those colors in this wreath. I set out last week to make a trip to our Hobby Lobby and Trees and Trends stores which are an hour drive, one-way, from our small town. All-day shopping excursion — YES!!! 😀
Here are some of the items I purchased to start my new crafting adventure:

Looking back now, I realize I once again bought too much “stuff,” but since I have to drive an hour one way just to get to a larger shopping center, I don’t take any chances of getting home and during the making of the craft think, “Gosh! I wish I would have bought that __[fill in the blank]__!”
I watched several videos on YouTube on how to make a deco mesh wreath until I felt fairly sure I could make one. The first thing I did was attach the pipe cleaners to my wire wreath base (that’s what my generation calls them; NOW they are called chenille stems – that does sound classier more chic, doesn’t it?).

Then I started to attach the yellow deco mesh going around the inner part of the wire frame first, then moving to the outer part…just like the videos had instructed.

I must admit that I didn’t like the way it looked the first time, so I took the mesh off to re-do it. However, I didn’t know that deco mesh does NOT straighten out very easily (it’s plastic and once it is squished together the wrinkles don’t want to come out of it). I thought I had totally ruined the mesh and was going to have to make the hour drive AGAIN to purchase some more yellow mesh.
Because I was stressing out, I decided I needed to take a break. It was almost lunch time, so I fixed my lunch. While I ate, an idea popped into my head. The sun was out and the day was warm. I decided to stretch out the mesh on my deck and set a couple of deck chairs on each end to hold it down and stretched out. I wasn’t very confident that it would work, so I didn’t take any pictures of THAT step! I went back inside and did a couple of “chores” (dull, boring, mundane housework!). After a little while I took a deep breath and mustered up the courage to go outside and see if I “saved” the deco mesh. SUCCESS! It looked as though I would be able to re-use the mesh.
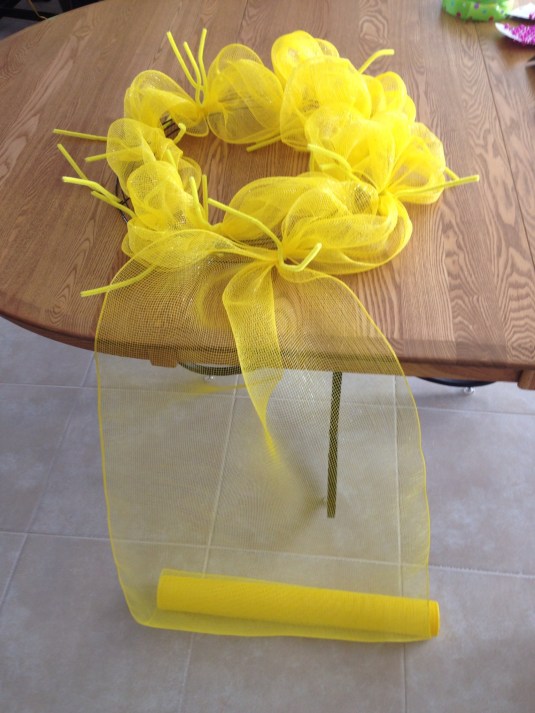
After attaching the mesh (again!) around the inner and outer parts of the wreath, it looked like it just might work! Almost finished with attaching the mesh for the second time:
Next I attached the accent colors, ribbon, and some sparkly bead garland.


Starting to actually LOOK like a wreath!
Now for the bow. I’ve made many wired ribbon bows in my lifetime, however, it has been a LONG time. SOOOOO, back to YouTube for a refresher course on bow making. How on earth did we EVER learn how to do things before the internet and the invention of YouTube?! Here’s how my bow turned out. I even purchased a flower pin to “bling” up the bow!


I had purchased two pairs of flip flops, but as the wreath began taking shape, I realized I would only need one pair. Now to bling-up the flip flops!

The next step was attaching the flip flops to the deco mesh. Since I haven’t ever worked with deco mesh, I wasn’t sure at all how I would accomplish this. It took a while for me to think this through. I pulled the plastic strap that goes between the toes on the flip flop down and twisted one of the pipe cleaners uh, I mean, chenille stems, around it just above the enlarged disc that holds it secure underneath the sole of the shoe. I thought, “Hmmmm, this might work!” Using my cool temp hot glue gun (isn’t that an oxymoron?) I glued the flip flops down as much as I could. Flip flops attached = check!

Attaching the bow was easier, and so was attaching a chenille stem for the hanging loop. Here’s the final product hanging on my front door:

I must admit – working with the deco mesh was a little more difficult than I anticipated. However, I’m sure that the more I work with it, the easier it will become…well, at least I hope so because I bought these supplies that same day:

Can I hear “Happy Fourth of July!” from anyone?
Like this:
Like Loading...


